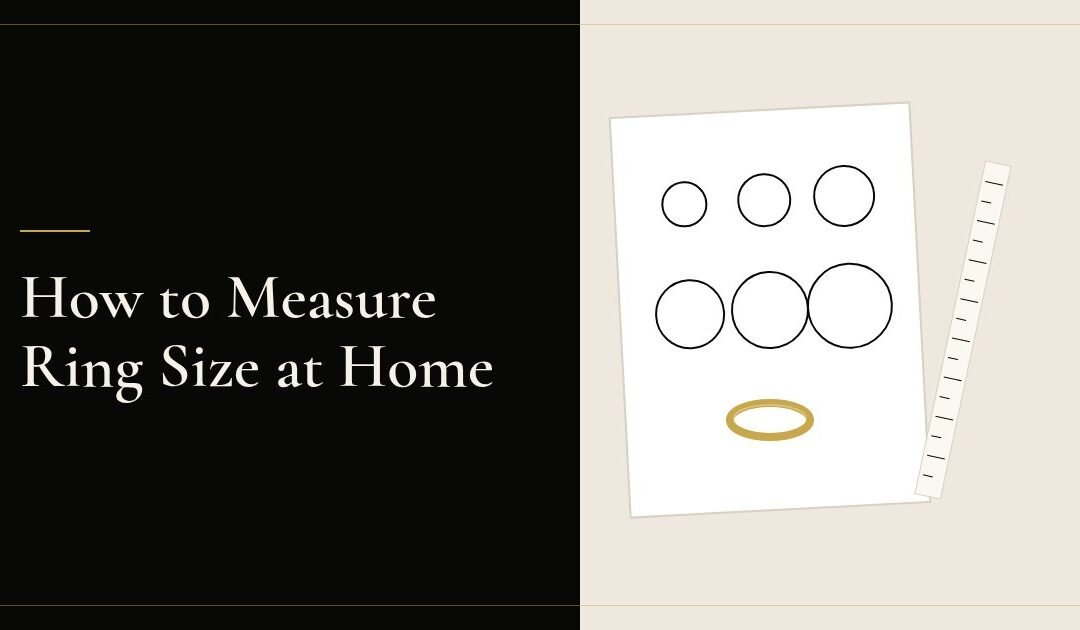
The most reliable way to measure ring size at home is to take a ring that already fits the correct finger and measure its inside diameter against a printed size chart. If there is no existing ring, wrap a thin strip of paper around the base of the finger, mark where it overlaps, and measure the length in millimeters to get the circumference. Learning how to measure ring size at home accurately is mostly about avoiding the three things that distort the result: stretchy material, temperature, and the knuckle.
Here are the methods, ranked by how much you can trust them.
How to Measure Ring Size at Home From a Ring That Fits
This is the most accurate home method because you are measuring an object, not a finger.
- Pick a ring that currently fits the finger you are sizing, comfortably, in normal conditions.
- Place it on a ruler with millimeter markings and measure the inside edge to inside edge, straight across the widest point. That is the inside diameter.
- Compare the figure to a standard ring size chart. Most sizing charts list inside diameter in millimeters alongside US, UK and European sizes.
- Measure twice, rotating the ring between measurements, and take the average. A ring that has gone slightly oval will give two different readings.
Two cautions. Measure the inside diameter, not the outside, or you will add the band thickness to the result. And if the ring you are measuring is a wide band, the size it represents may be larger than the wearer's true size — covered below.
How to Measure Ring Size at Home With a Paper Strip
Use this when there is no existing ring.
- Cut a strip of paper about 5 mm wide and 100 mm long. Printer paper works. Do not use string, ribbon, elastic or thread.
- Wrap it around the base of the finger, snug but not tight enough to compress the skin.
- Mark where the end overlaps with a fine pen, and mark the same point on the overlapping layer.
- Unwrap and measure between the marks with a millimeter ruler. That is the circumference.
- Check the circumference against a size chart, or divide by 3.14 to get the diameter.
- Then repeat the whole thing: pull the strip over the knuckle. If the strip will not pass the knuckle at the base-of-finger measurement, you need the larger of the two numbers.
Do the measurement three separate times and use the most frequent result. Paper strips are easy to pull slightly too tight.
Using a Printable Ring Sizer
A printable sizer is a paper strip with a slot and printed size markings, or a page of printed circles you lay existing rings over. It is the same principle as the methods above with the chart built in.
The one thing to verify: print at 100% scale with any "fit to page" or "shrink to fit" option switched off, then check the ruler printed on the sheet against a real ruler before using it. A sheet printed at 97% will read a size small, and that error is invisible.
When Each Method Is Unreliable
| Method | Accuracy | Fails when |
|---|---|---|
| Measuring an existing ring | Highest | The ring is a wide band, has gone oval, or was never a good fit |
| Paper strip | Good | Pulled too tight, string or elastic used, knuckle not checked |
| Printable sizer | Good | Printed at the wrong scale |
| String or thread | Poor | It stretches and compresses — it will read small |
| Guessing from a glove size or height | None | Always |
| A plastic sizer ring from a mail kit | Good for ballpark | Flexes more than metal, so reads loose |
String is the single most common mistake. It stretches as you pull it and the overlap is hard to mark cleanly, so it reliably produces a size that is too small.
The Knuckle and Temperature Effects
These two factors move real finger measurements by half a size to a full size, and sometimes more.
Temperature. Fingers swell in heat and shrink in cold. A measurement taken on a cold morning or straight after being outside in winter can be a full size smaller than the same finger measured in warm weather. Measure at the end of the day, at normal room temperature, when hands have been resting.
Time of day and water. Fingers are at their smallest in the morning and largest in the evening. Salt, alcohol, heat and exercise all increase swelling temporarily.
The knuckle. This is the real complication. The ring has to pass over the knuckle but sit at the base of the finger. If someone has a prominent knuckle, the base measurement will be too small to get the ring on, and the knuckle measurement will leave the ring spinning and sliding when it is on.
When those two measurements differ by more than about half a size, the usual approach is to take a size between the two, closer to the knuckle measurement, and to use sizing beads or a sizing bar fitted inside the band. These are small additions on the inside of the shank that let the ring pass the knuckle and then hold it in position at the base. Ask about them rather than compromising on a size that only half works.
Dominant hand. The fingers on the hand you use most are often slightly larger. Size the specific finger on the specific hand.
Pregnancy, medication and injury all change finger size temporarily. If a measurement is being taken during any of those, say so, because it affects whether resizing later should be expected.
Which Ring Styles Are Hard to Resize
This matters before you buy, not after. Some designs resize in minutes and some cannot be resized at all.
Easy to resize:
- Plain bands with no stones in the shank
- Solitaires with a smooth shank and stones only at the top
- Three-stone rings where the lower half of the band is plain
Difficult or limited:
- Eternity bands. Stones run the whole way around, so there is no plain metal to cut and rejoin. Most cannot be resized at all; the usual route is remaking the ring at the new size.
- Pavé or channel-set shanks that run most of the way around. Resizing changes the spacing between stones and can loosen the ones nearest the join.
- Wide bands. A wide band needs a slightly larger size than a narrow one for the same finger, because it covers more of the finger and flexes less. Resizing a wide band also means moving more metal.
- Tension-set rings. The stone is held by the spring pressure of the band. Altering the band changes that pressure, so these are generally sized at the point of making.
- Mixed-metal and inlaid designs. Different metals and inlays of wood, ceramic or stone do not survive heat and reshaping the same way.
- Rings with engraving around the full band. The engraving is cut through at the join.
If you know the ring will need to be a specific size permanently, or that resizing may be needed later, raise it before the design is chosen. A commissioned piece can be made to size from the start.
When to Get Sized Properly
Measure at home to narrow things down. Get sized on a metal ring gauge before committing in any of these cases:
- The ring is an engagement ring or wedding band, where the margin for error is small
- The design is an eternity band, a tension setting or a wide band
- The knuckle and base measurements disagree by more than half a size
- The finger size seems to change noticeably between seasons
- A stone-set band is involved, where resizing later has consequences
- The ring is a surprise and you only get one attempt
A proper sizing takes a couple of minutes with a set of graduated metal rings and removes the guesswork entirely.
If your design is one of the styles that cannot be resized later, talk through sizing on the Bespoke page before the piece is made.